

ホイール交換について
Regarding wheel replacement
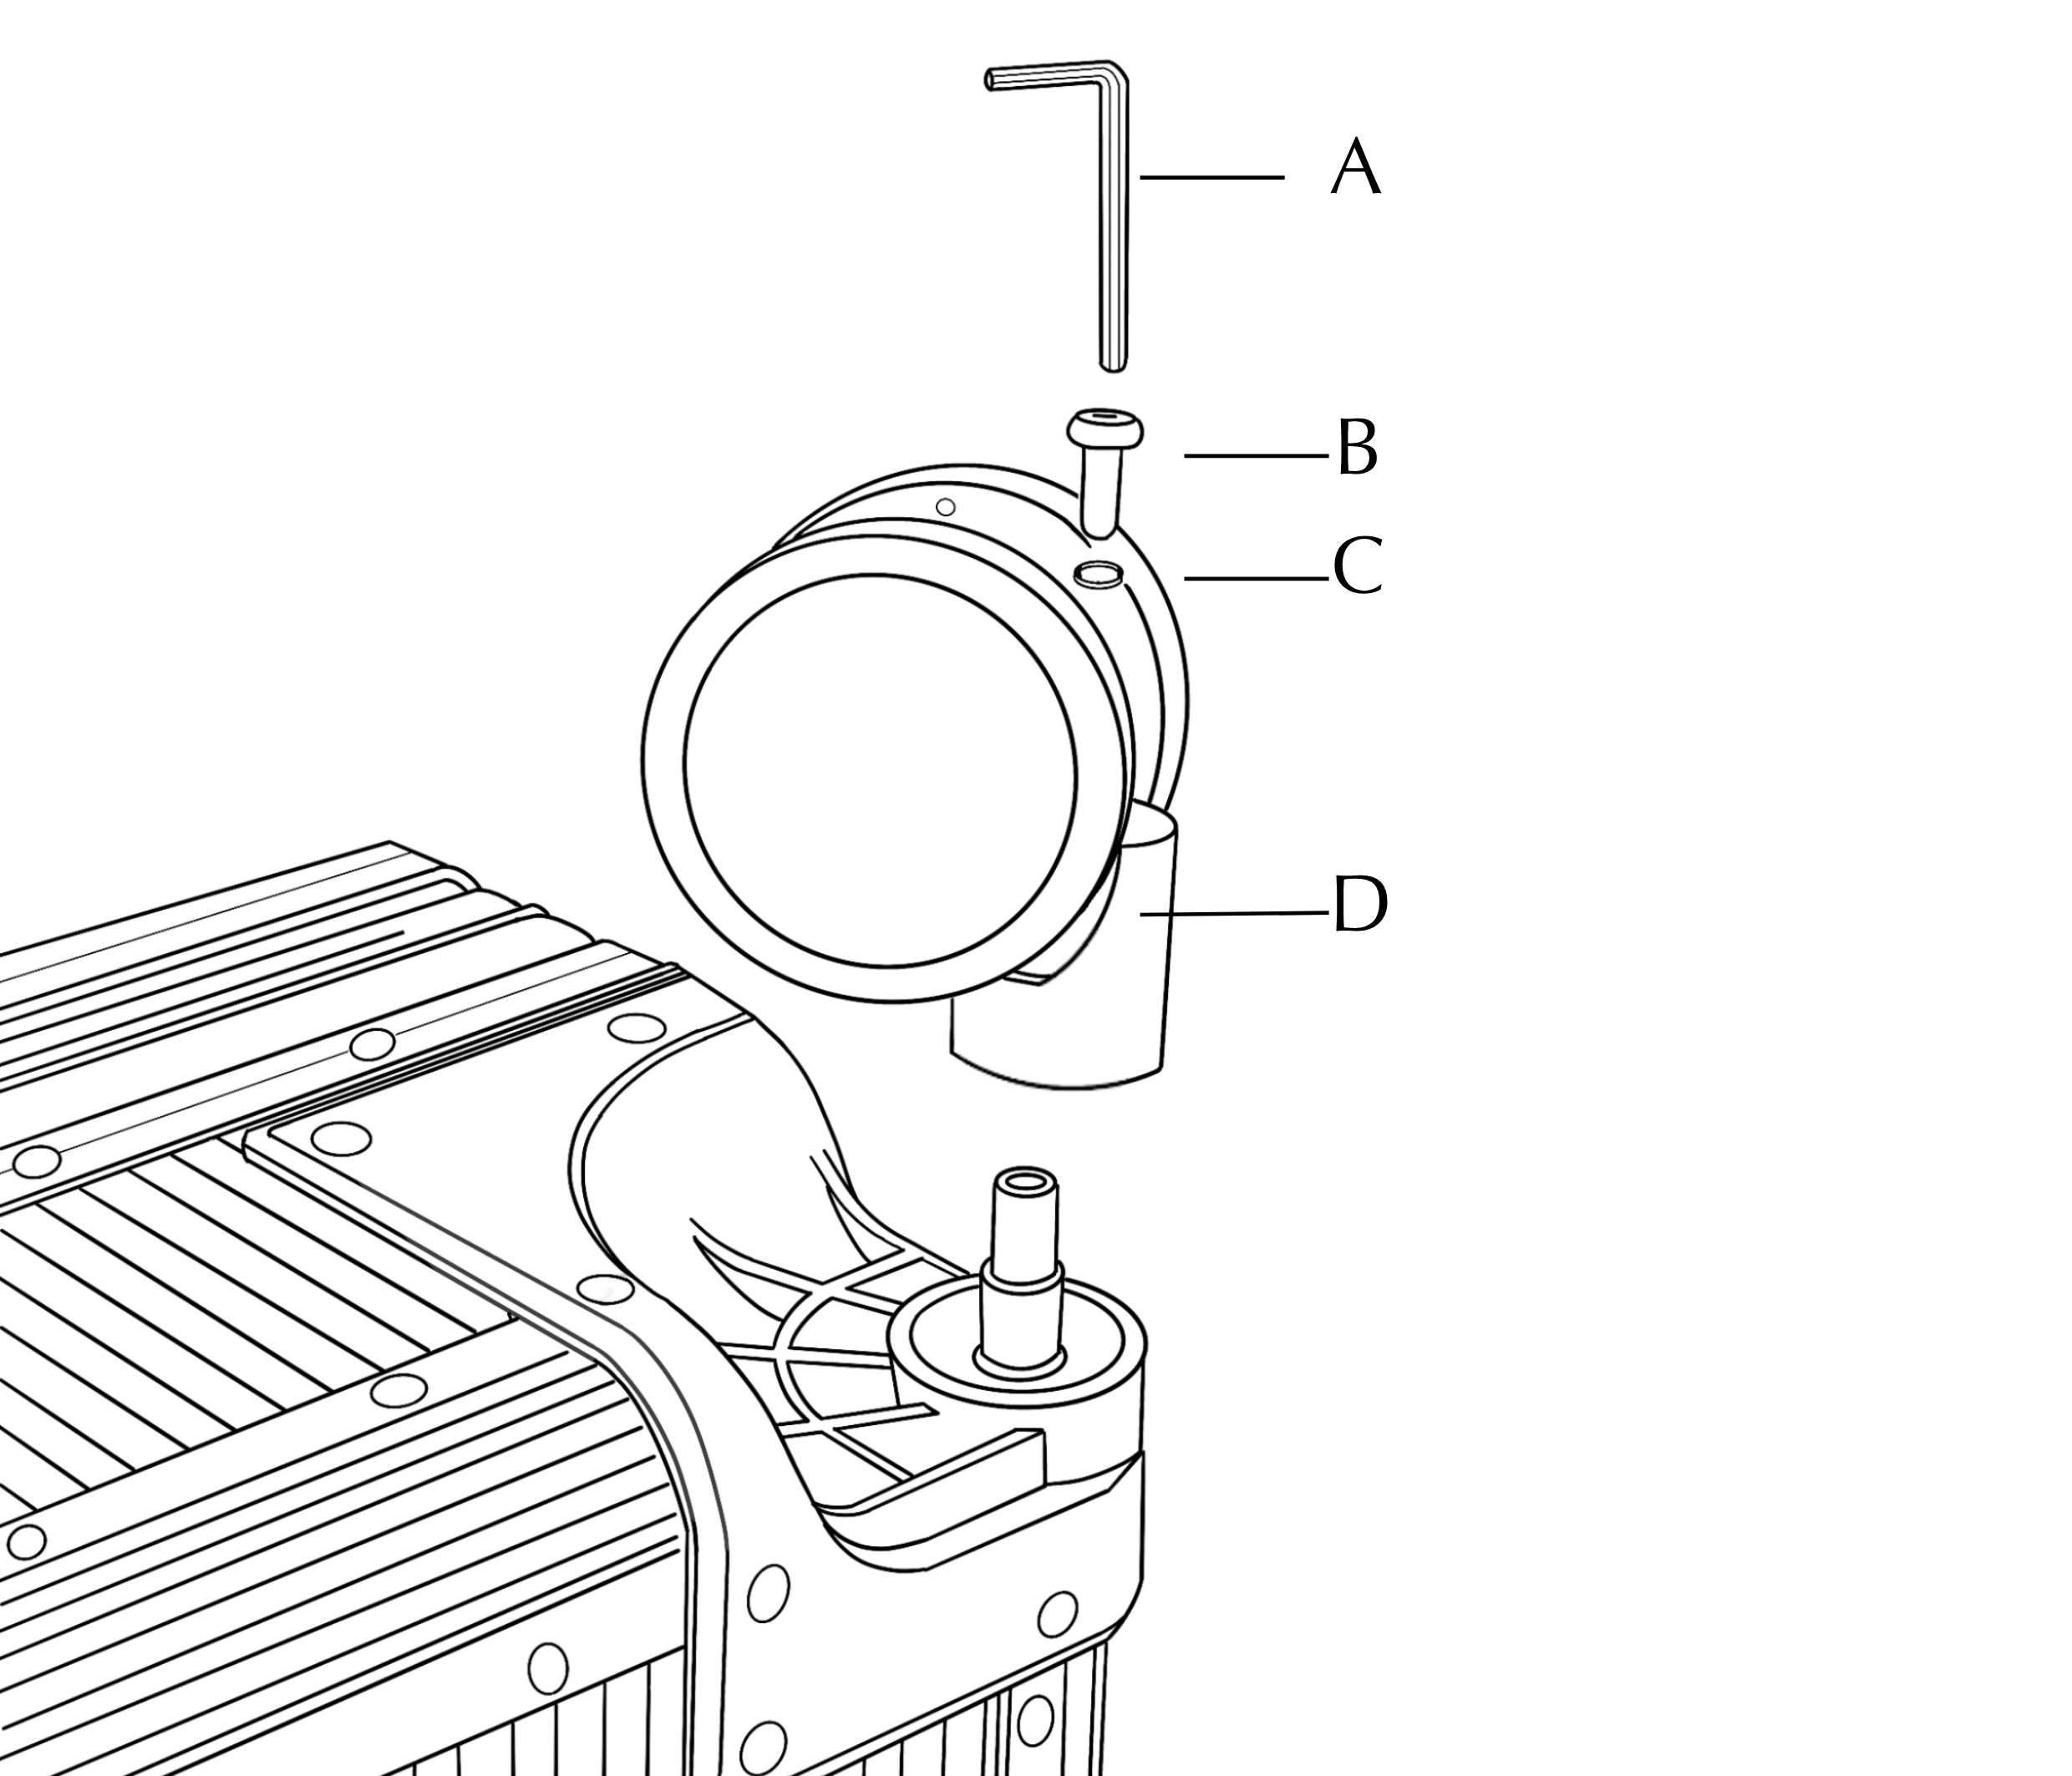
These wheels can be removed and replaced using the included hex wrench (A).
When replacing the wheels, turn the screw (B) counterclockwise to loosen it, and clockwise to tighten it.
The tires (D) are made of HINOMOTO Lisof® SILENT RUN, which offers excellent quietness and durability without hydrolyzing.
____________
⚠︎Cautions for use
・The blue part of the screw (B) (nyloc processing) is coated with a special nylon resin to prevent loosening. Do not scrape it, wipe it off, or drop it.
・When replacing, tighten the screws securely to prevent them from loosening. However, overtightening the screws can cause damage, so please be careful.
伸縮ハンドルの交換
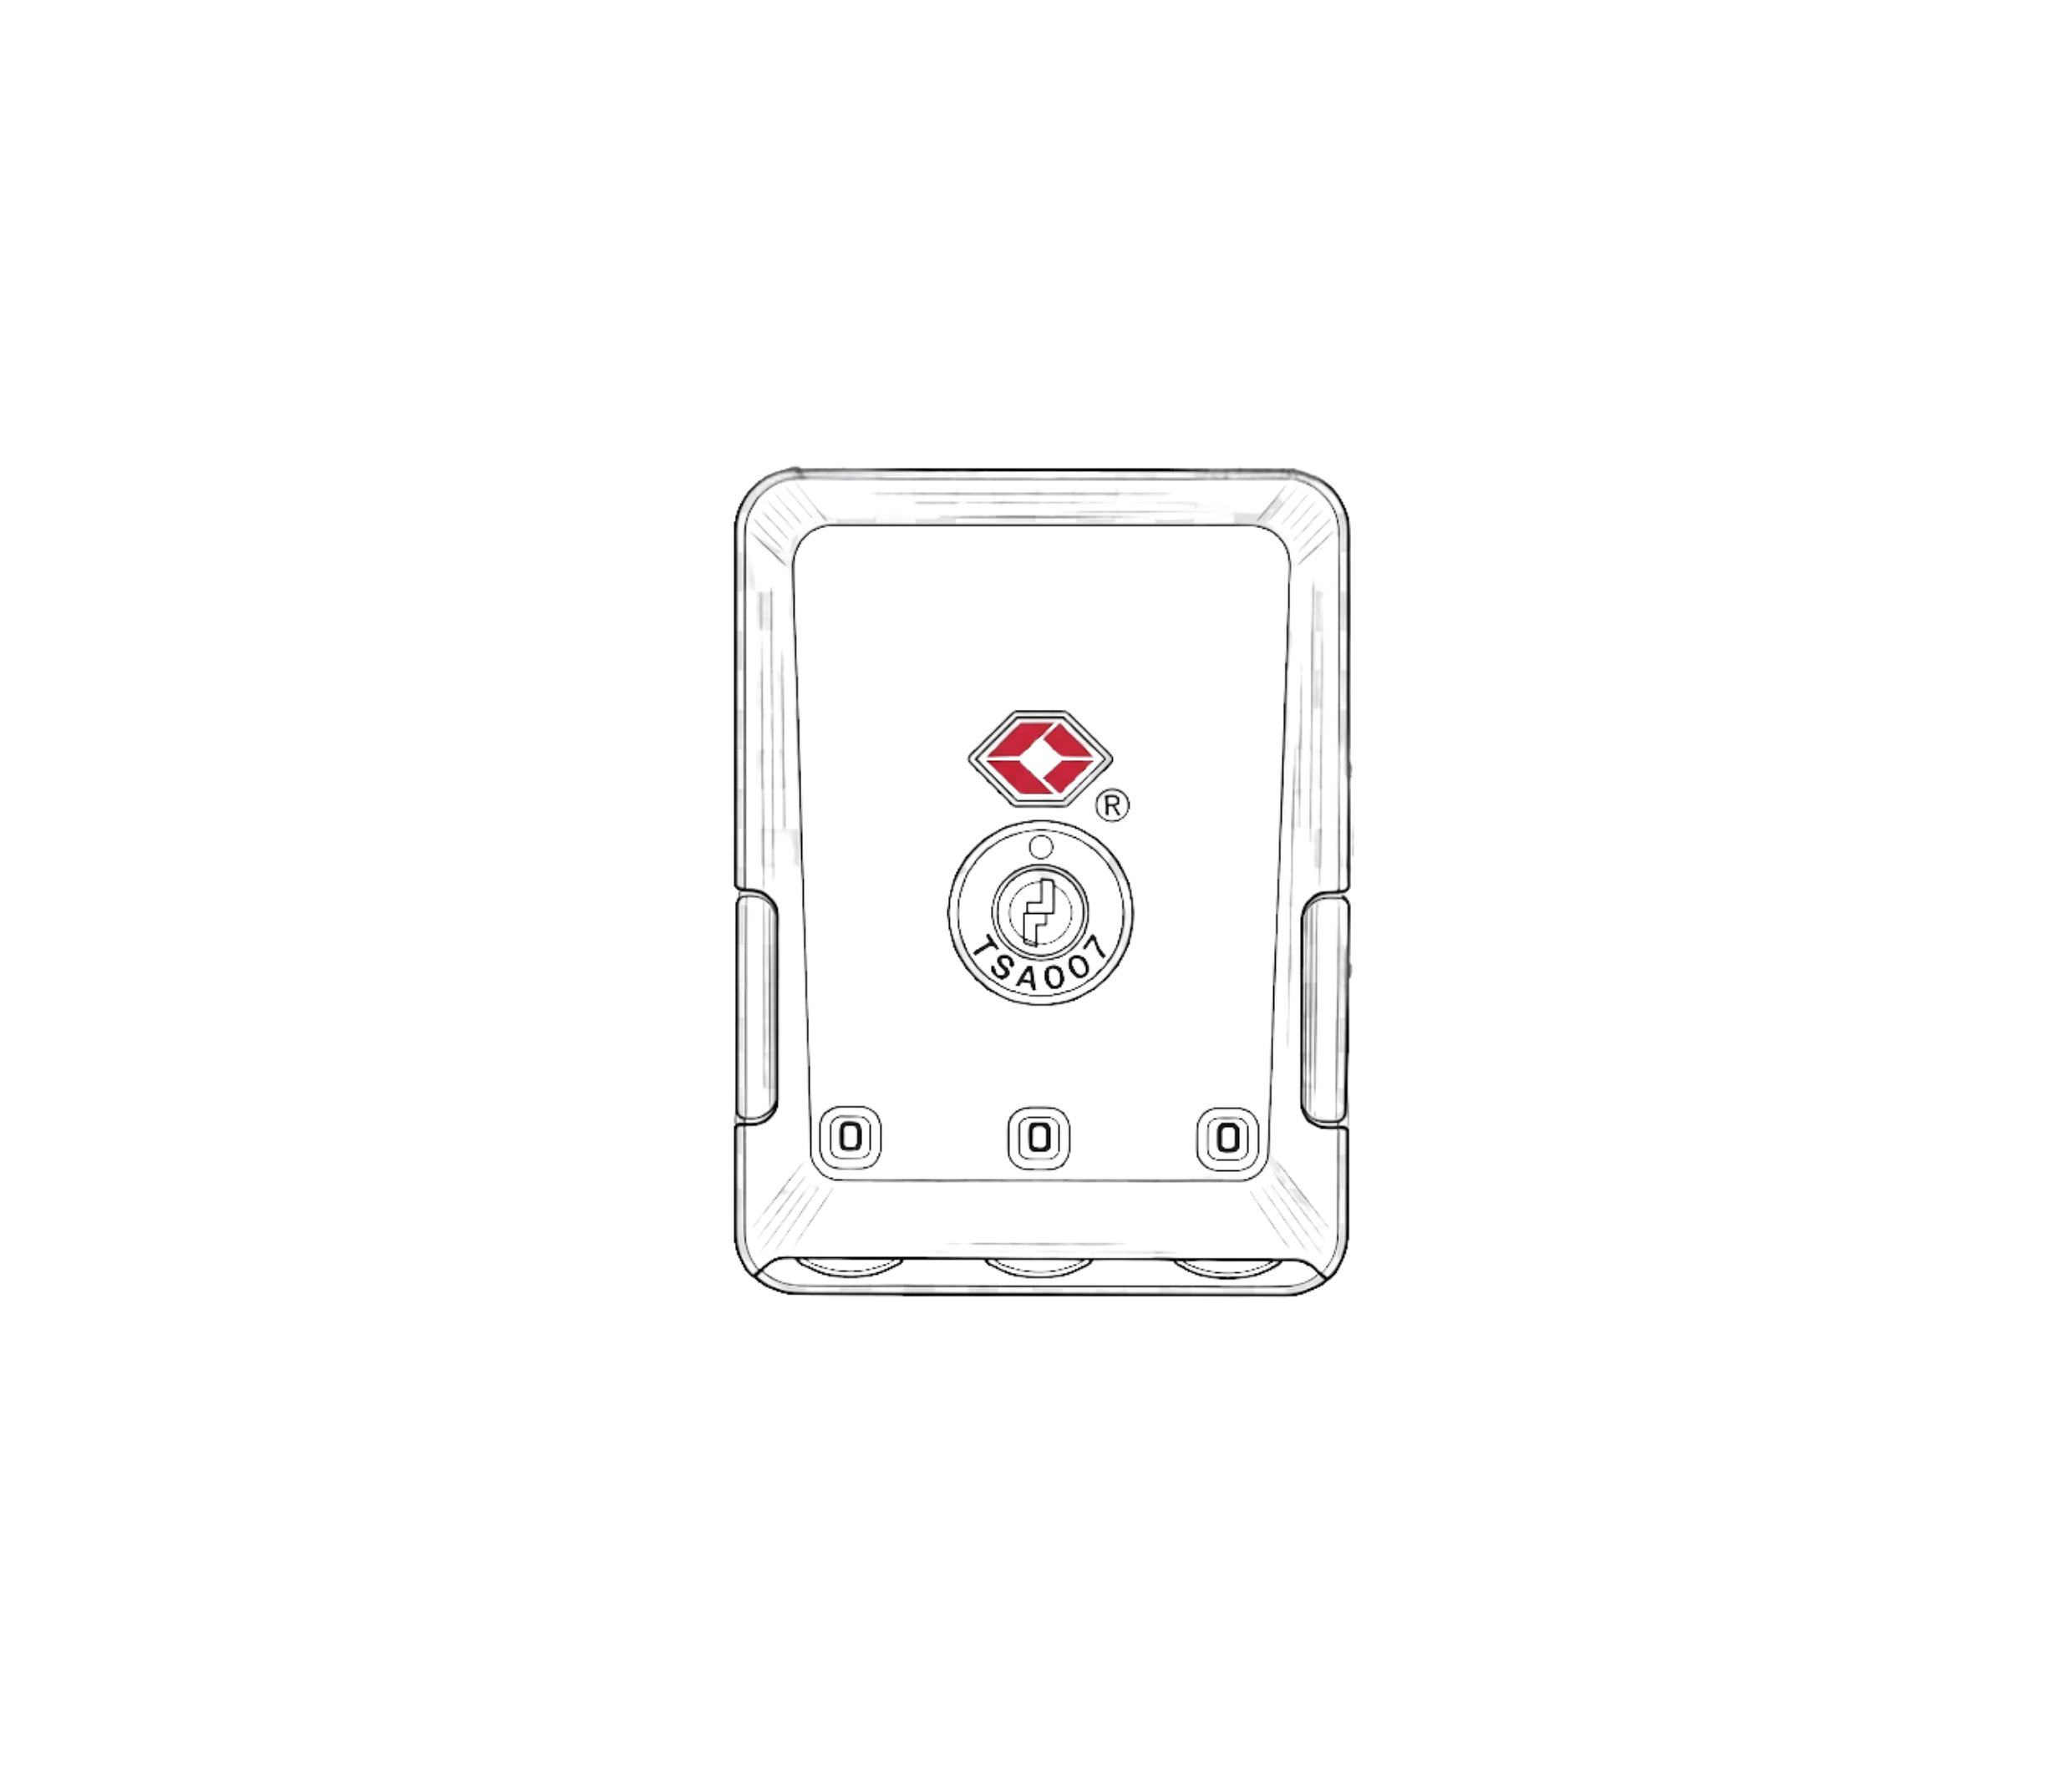
About TSA lock replacement
The only tool you'll need is a screwdriver. We recommend using a Phillips head screwdriver, or a power drill if you have one. Before you begin, please review the instructions.
- Open the carrying case and lay it flat.
- Unscrew the two screws holding the TSA lock you wish to replace.
- Remove the damaged TSA lock from the outside.
- Install the new lock and secure it with the screws.
- Tighten each screw firmly back into place.
Replacing the Top & Side Handles
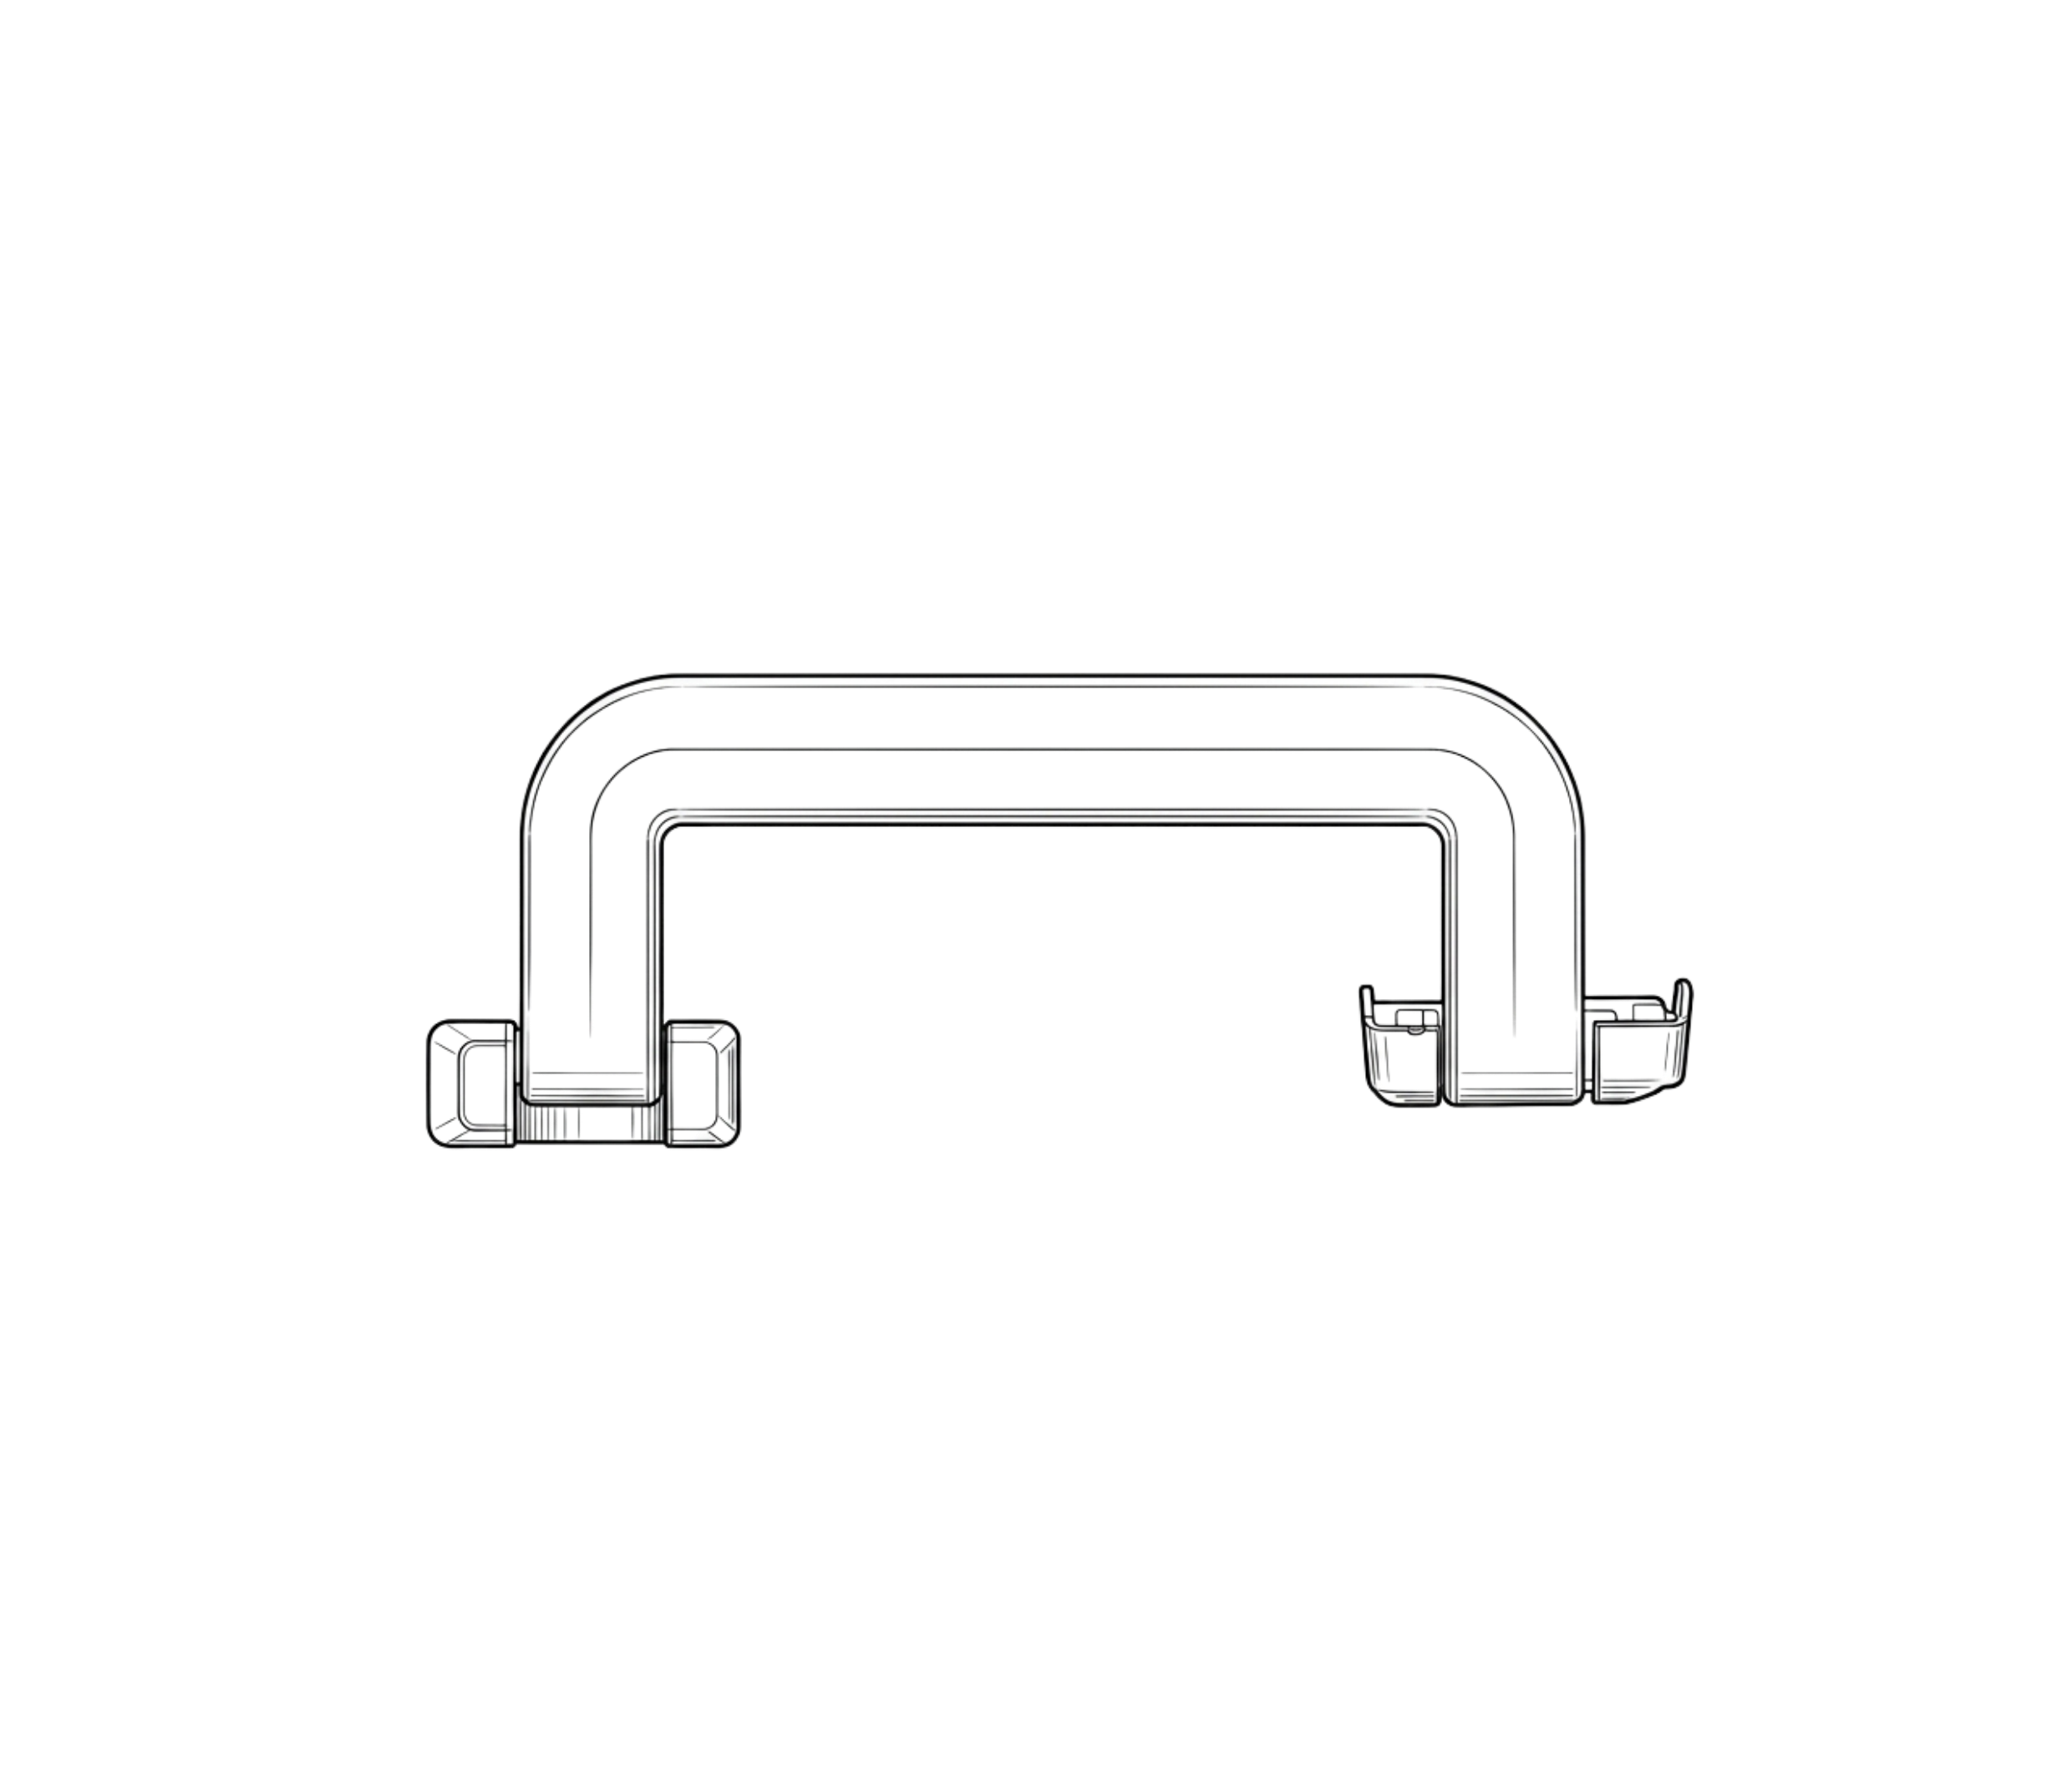
Top - Side Handle Replacement
The only tool required is a screwdriver. We recommend using a Phillips head screwdriver, or a power drill if you have one. Before you begin, please review the instructions:
- Open the suitcase and lay it flat.
- Remove the four screws holding the top or side handle you wish to replace.
- Remove the damaged handle from the outside of the suitcase.
- Install the new handle and back plate.
- Re-tighten the screws one by one, ensuring they are all securely fastened.
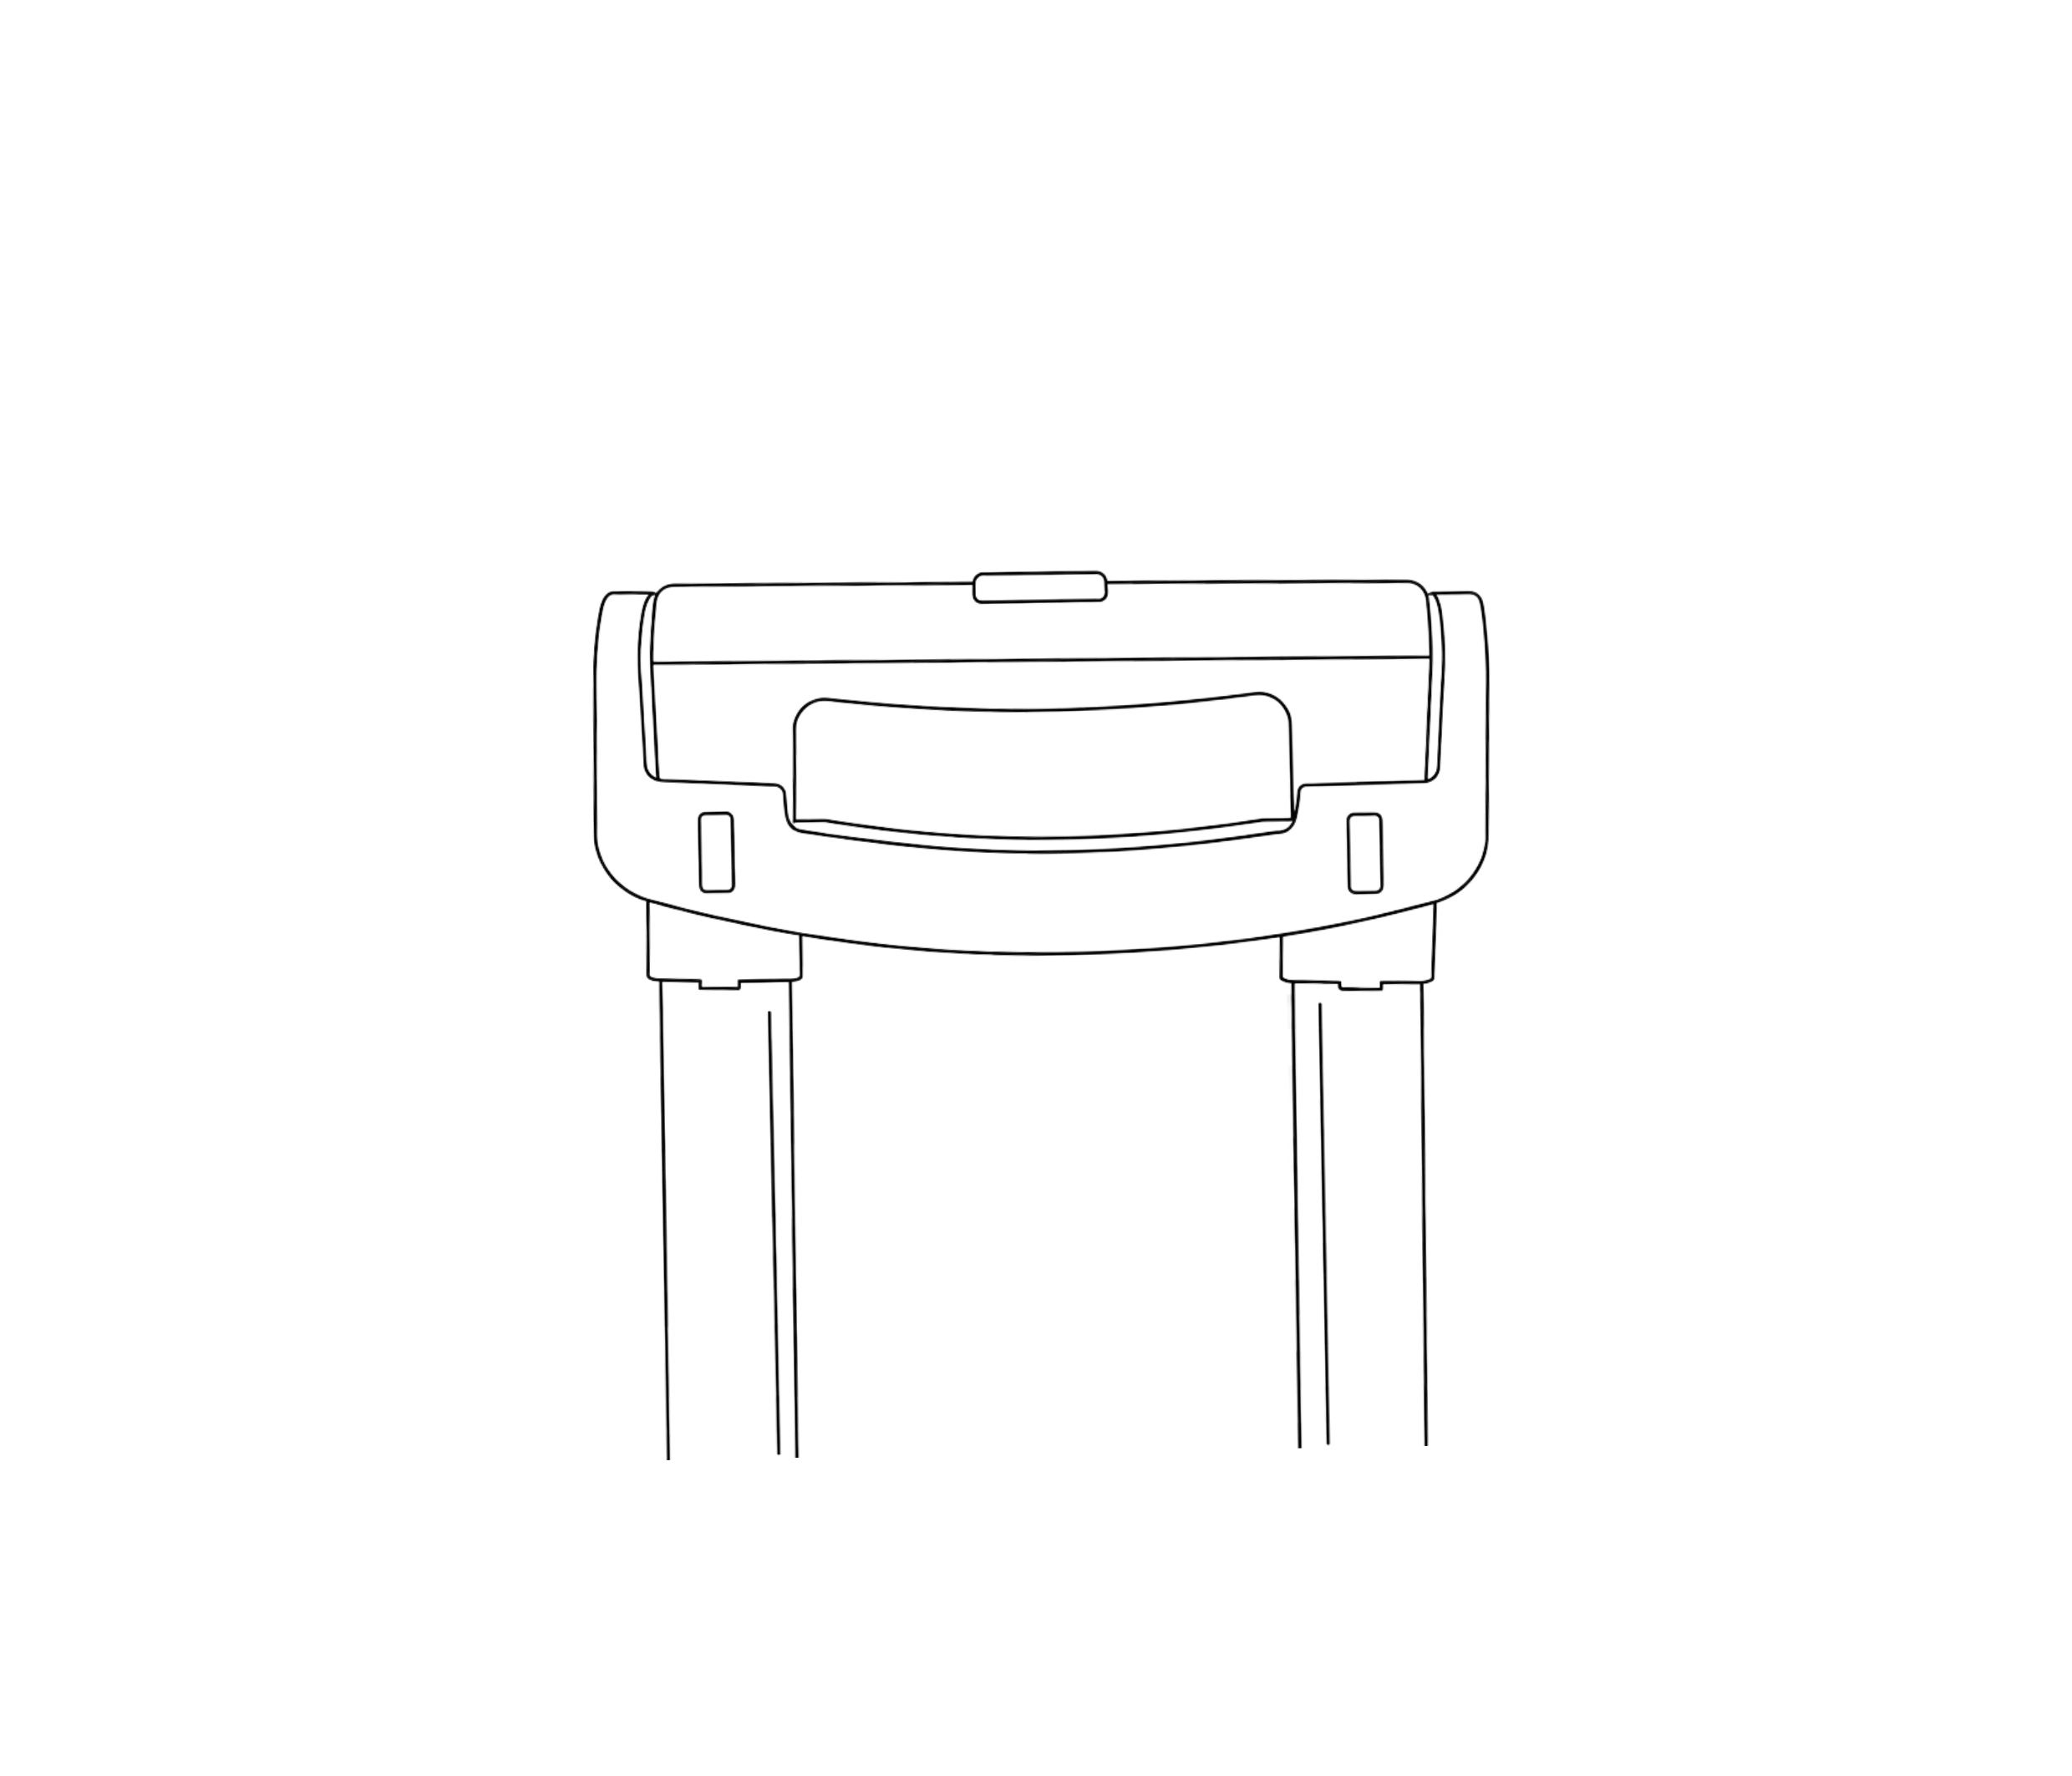
伸縮ハンドルの交換
Replacement telescopic handle
The only tool you need is a screwdriver. We recommend using a Phillips screwdriver, or an electric screwdriver if you have one. Before you begin, please review the steps.
- Open the carry case and lay it flat.
- Unscrew the four screws securing the top handle or side handle you wish to replace.
- Remove the damaged handle from the outside.
- Attach the new handle and the back plate.
- Tighten each screw firmly back into its original position.